Adjust the image quality (Photoshop basic part-4)
- In the menu bar, select Image > Adjustments > Brightness/Contrast.
- Adjust the Brightness slider to change the overall brightness of the image. Adjust the Contrast slider to increase or decrease image contrast.
- Click OK. The adjustments will appear only on the selected layer.


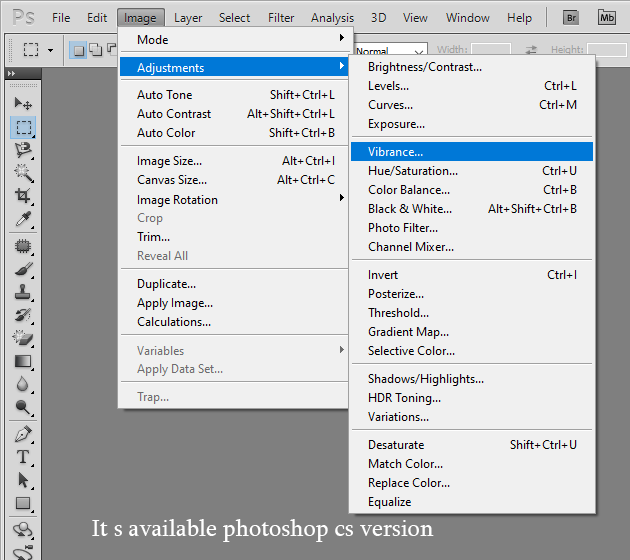
Adjust color vibrance
- In the menu bar, select Image > Adjustments > Vibrance.
- Experiment by adjusting the sliders. The Vibrance slider affects the intensity of colors. It has the strongest effect on muted colors in the image. The Saturation slider increases the color intensity of all colors in the image.
- Click OK when you’re done.

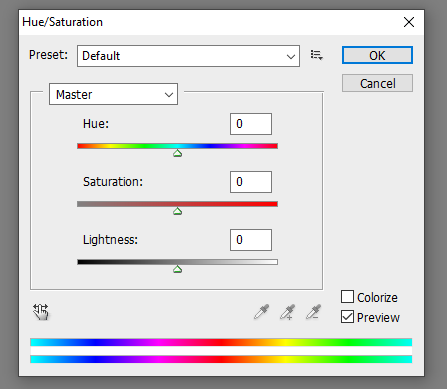
Adjust hue and saturation
- In the menu bar, select Image > Adjustments > Hue/Saturation.
- Experiment by adjusting the Hue, Saturation, and Lightness sliders. Your changes will affect all the colors in the image. The Hue slider changes the colors in an image. The Saturation slider affects the intensity of colors in an image. The Lightness slider affects the brightness of colors in an image.
- To affect only a specific color with these sliders, first go to the drop-down menu at the top left of the Hue/Saturation dialog box and choose a color range, like Yellows. Then adjust the Hue, Saturation, or Lightness sliders. These changes will only affect the selected color range, wherever that color appears in the image.
- Click OK when you’re done.

Learn about adjustment layers
Adjustment layers give you additional editing flexibility. They allow you to re-edit image adjustments you’ve made, and protect your original image from direct changes. Try out a Black & White adjustment layer to get a feel for how adjustment layers work.
- In the Layers panel, select an image layer that you want to affect with the adjustment.
- Go to the bottom of the Layers panel, click the Create new fill or adjustment layer icon, and select Black & White from the drop-down menu. A new adjustment layer will appear in the Layers panel above the image layer you selected. This adjustment layer will affect only the layers below it.The Properties panel opens automatically, displaying the controls for this adjustment. Different kinds of adjustment layers present different controls in the Properties panel.
- With your Black & White adjustment layer selected in the Layers panel, customize the way your image is converted from color to black and white by adjusting the controls in the Properties panel.
- Experiment by adjusting the sliders. Click the double arrows at the top right of the Properties panel to close that panel when you’re done.


after
click
→

Comments
Post a Comment